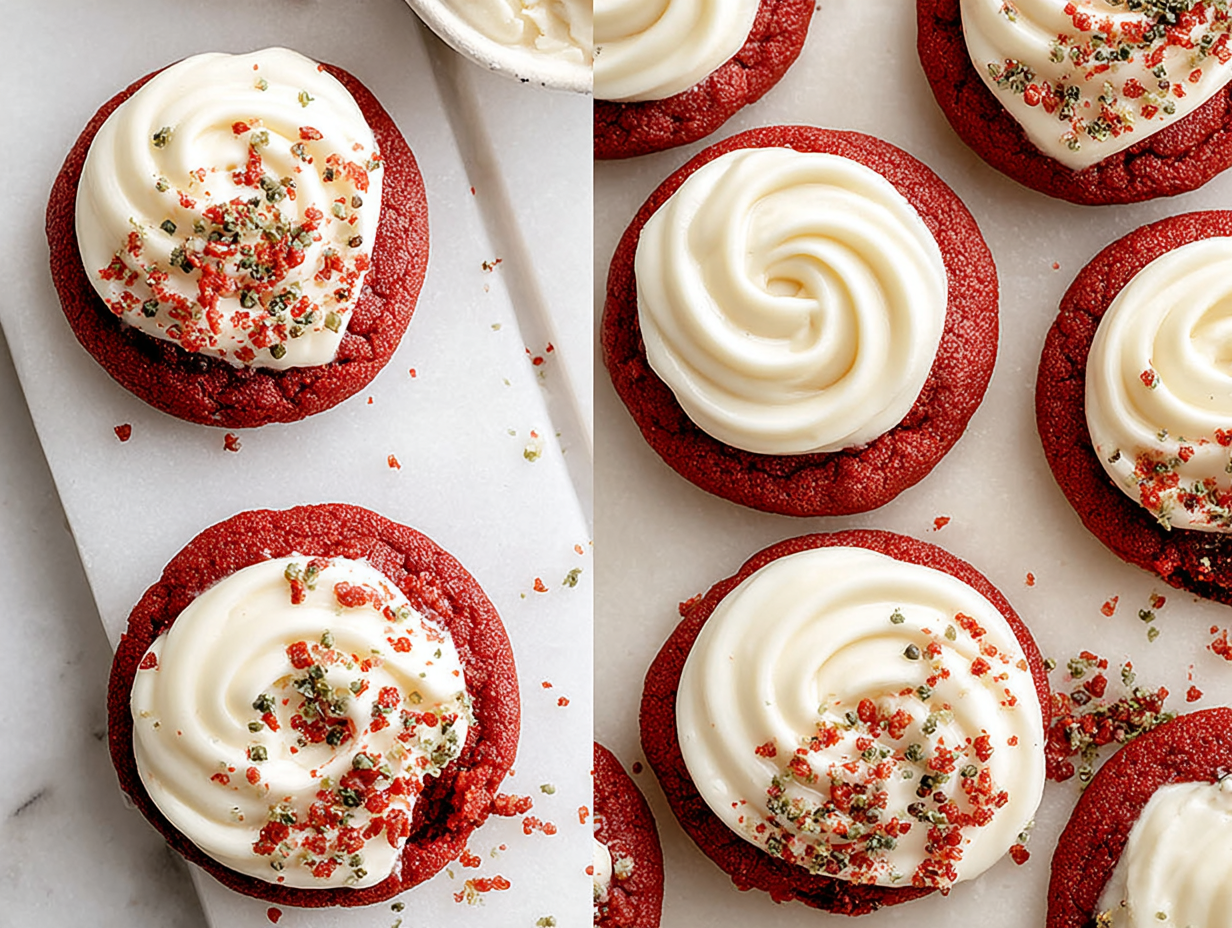
There’s something truly magical about baking for someone you love, and for me, nothing captures that feeling quite like these Red Velvet Cookies with Cream Cheese Frosting. This isn’t just another cookie recipe; it’s the one I turn to when I want to make something that looks as special as it tastes. These cookies have become my go-to for **Valentines Bakes Ideas** because their deep, vibrant red color and tangy-sweet flavor feel like a celebration. They are the perfect blend of a classic chocolate cookie and a soft, chewy bakery-style treat, all crowned with that unmistakable swirl of creamy frosting. Every bite is a perfect balance of textures and tastes, from the slightly crisp edges to the wonderfully soft and tender center.
What I adore about this particular recipe is its reliability. While they look impressive enough to be one of your top **Valentines Day Bakery Ideas**, they are surprisingly straightforward to pull together, making them one of the best **Easy Valentine Treats To Make**. The dough comes together quickly, and the frosting is a simple, no-fuss affair. The result is a batch of stunning cookies that will genuinely wow anyone who tries them. Whether you’re baking for a partner, your kids, or just treating yourself, these cookies deliver that homemade comfort and joy that store-bought treats just can’t match. They are more than just a dessert; they’re a way to share a little bit of love, one delicious cookie at a time.
Ingredients for Red Velvet Cookies
This recipe relies on a handful of pantry staples to create its signature flavor and texture. The combination of Dutch-process cocoa powder and a hint of vanilla gives these cookies their subtle chocolatey notes, while the brown and granulated sugars work together to ensure a soft, chewy middle with perfectly crisp edges. Using melted butter is a key step that contributes to the chewiness, making these some of the **Best Red Velvet** cookies you’ll ever try. For the frosting, full-fat cream cheese is non-negotiable; it provides the necessary tang and structure to balance the sweetness of the powdered sugar. Don’t skimp on the quality of your ingredients here, as each one plays a crucial role in the final outcome.
For the Red Velvet Cookies:
- Butter: 110 g (½ cup), melted and cooled
- Granulated Sugar: 100 g (1/2 cup)
- Brown Sugar: 100 g (1/2 cup), packed
- Red Gel Food Coloring: ½ tsp (or to your desired color)
- Egg: 1, large and at room temperature
- Vanilla Extract: 1 tsp
- All-Purpose Flour: 230 g
- Dutch Process Cocoa Powder: 10 g
- Baking Powder: 1/2 tsp
- Baking Soda: 1/2 tsp
- Salt: 1/2 tsp
For the Cream Cheese Frosting:
- Butter: 120 g, softened
- Cream Cheese: 60 g, full-fat and softened
- Powdered Sugar: 220 g, sifted
- Vanilla Bean Paste: 1/4 tsp (or vanilla extract)
How to Make Red Velvet Cookies
Following these steps carefully will guide you to baking perfect Red Velvet Cookies every time. The process is divided into two main parts: making the cookie dough and then whipping up the cream cheese frosting while they cool. One of the most important yet simple steps is chilling the dough. This prevents the cookies from spreading too much in the oven, ensuring they stay thick and chewy. It’s a small detail that makes a huge difference and solidifies this recipe as one of those essential **Classic Cookie Recipes**. When it comes to the frosting, make sure your butter and cream cheese are truly at room temperature to get that smooth, luscious consistency. This process is a joy from start to finish, filling your kitchen with the wonderful aroma of a **Valentines Day Bakery**.
Making the Cookies
- In a medium bowl, whisk together the all-purpose flour, Dutch process cocoa powder, baking powder, baking soda, and salt. Set this dry mixture aside.
- In a separate large bowl, combine the melted and cooled butter with the granulated and brown sugars. Whisk until well combined.
- Add the egg, vanilla extract, and red gel food coloring to the sugar mixture. Whisk vigorously until the mixture is smooth and the color is uniform.
- Gradually add the dry ingredients to the wet ingredients, mixing with a spatula or wooden spoon until just combined. Be careful not to overmix the dough.
- Cover the bowl with plastic wrap and chill the dough in the refrigerator for at least 30 minutes. This step is crucial for thick cookies.
- Preheat your oven to 350°F (175°C) and line a baking sheet with parchment paper.
- Scoop out portions of the dough (about 2 tablespoons each) and roll them into balls. Place them on the prepared baking sheet, leaving some space between each one.
- Bake for 10-12 minutes, or until the edges are set. The centers will still look slightly underdone. Let the cookies cool on the baking sheet for 5 minutes before transferring them to a wire rack to cool completely.
Making the Cream Cheese Frosting
- In a large bowl, use an electric mixer to beat the softened butter and softened cream cheese together until smooth and creamy.
- Gradually add the sifted powdered sugar, mixing on low speed at first to avoid a mess, then increasing to medium-high speed until the frosting is light and fluffy.
- Stir in the vanilla bean paste.
- Once the cookies are completely cool, spread or pipe the frosting on top. You can add sprinkles for an extra festive touch.
Tips & Tricks for the Best Red Velvet Cookies
Over the years, I’ve learned a few things that take these Red Velvet Cookies from good to absolutely unforgettable. First, don’t even think about skipping the dough-chilling step. It’s the secret to preventing sad, flat cookies and achieving that coveted thick and chewy texture. Another tip is to use gel food coloring instead of liquid. Gel coloring is much more concentrated, so you get a vibrant, deep red without adding extra liquid that could alter the dough’s consistency. This is key to making the **Best Red Velvet** cookies that truly pop with color. When it comes to baking, pull them from the oven when the centers still look a little soft. They’ll continue to bake on the hot pan, resulting in a perfectly soft-baked center. These little details are what elevate simple **Cookies With Frosting** into a truly special treat.
Why did my cookies spread so much?
If your cookies spread into thin crisps, the culprit is almost always the dough temperature. Chilling the dough for at least 30 minutes allows the butter to solidify. When the cold dough hits the hot oven, the butter melts more slowly, which helps the cookies hold their shape and results in a thicker, chewier final product. Also, ensure your butter was just cooled after melting, not warm, when you mixed it with the sugars.
Substitutions & Variations
While this recipe is a star on its own, it’s also wonderfully adaptable. If you don’t have Dutch-process cocoa, you can use natural unsweetened cocoa powder, but the color might be slightly less deep. For a fun twist, try folding in about a cup of white chocolate chips into the dough before chilling. The creamy sweetness of the white chocolate is a perfect complement to the slight tang of the cookie and frosting. This addition turns them into one of the most requested **Valentine’s Day Baked Goods Ideas** among my friends and family. You could also experiment with the frosting by adding a little citrus zest, like orange or lemon, for a brighter flavor profile. Don’t be afraid to make them your own!
Can I use a different type of food coloring?
Yes, but with caution. Gel food coloring is highly recommended for its potency. If you only have liquid food coloring, you will need to use significantly more, which can add excess moisture to the dough and affect the texture. For a natural alternative, beet powder can be used, though it will impart a more earthy, subtle pinkish-red hue rather than a vibrant, classic red.
Frequently Asked Questions
How do I get my cookies to be so thick and chewy?
The key to thick and chewy cookies lies in three things: using melted butter, the right ratio of brown to white sugar, and, most importantly, chilling the dough. Don’t skip the 30-minute refrigeration time! Also, be careful not to overbake them. Pull them from the oven when the edges are set but the centers still look a touch soft.
Can I make the cookie dough in advance?
Absolutely! The dough can be made and kept in the refrigerator for up to 3 days. This actually enhances the flavor. Just make sure it’s well-covered. You can also freeze the dough balls for up to 3 months. Simply place the frozen dough balls on a baking sheet and add a few extra minutes to the baking time.
How should I store frosted red velvet cookies?
Because of the cream cheese frosting, these cookies should be stored in an airtight container in the refrigerator. They will stay fresh for up to 5 days. For the best texture, let them sit at room temperature for about 15-20 minutes before serving to allow the frosting and cookie to soften slightly.
Conclusion
Baking these Red Velvet Cookies is more than just following a recipe; it’s about creating a moment of pure joy. The vibrant color, the soft and chewy texture, and the tangy cream cheese frosting all come together to make a truly unforgettable treat. It’s a recipe that’s perfect for sharing, making it the ultimate **Valentines Day Cookie** to bake for someone special. I hope you love making—and eating—these cookies as much as I do. They are a staple in my kitchen for a reason, and I have a feeling they might become one in yours, too. Happy baking!
Red Velvet Cookies with Cream Cheese Frosting
Ingredients
Equipment
Method
- In a medium bowl, whisk together the all-purpose flour, Dutch process cocoa powder, baking powder, baking soda, and salt. Set this dry mixture aside.
- In a separate large bowl, combine the melted and cooled butter with the granulated and brown sugars. Whisk until well combined.
- Add the egg, vanilla extract, and red gel food coloring to the sugar mixture. Whisk vigorously until the mixture is smooth and the color is uniform.
- Gradually add the dry ingredients to the wet ingredients, mixing with a spatula or wooden spoon until just combined. Be careful not to overmix the dough.
- Cover the bowl with plastic wrap and chill the dough in the refrigerator for at least 30 minutes. This step is crucial for thick cookies.
- Preheat your oven to 350°F (175°C) and line a baking sheet with parchment paper.
- Scoop out portions of the dough (about 2 tablespoons each) and roll them into balls. Place them on the prepared baking sheet, leaving some space between each one.
- Bake for 10-12 minutes, or until the edges are set. The centers will still look slightly underdone. Let the cookies cool on the baking sheet for 5 minutes before transferring them to a wire rack to cool completely.
- In a large bowl, use an electric mixer to beat the softened butter and softened cream cheese together until smooth and creamy.
- Gradually add the sifted powdered sugar, mixing on low speed at first to avoid a mess, then increasing to medium-high speed until the frosting is light and fluffy.
- Stir in the vanilla bean paste.
- Once the cookies are completely cool, spread or pipe the frosting on top. You can add sprinkles for an extra festive touch.