There are some days when a simple salad just won’t cut it. You know the ones—when you’re craving something truly satisfying, something with texture, flavor, and that comforting quality that only a great sandwich can provide. That’s where this incredible Crispy Chicken Caesar Sandwich comes in. This isn’t just another lunch idea; it’s a full-blown flavor experience that takes everything you love about a classic Caesar salad and transforms it into the perfect handheld meal. It’s the ultimate solution when you’re looking for impressive Lunch Recipes that feel a little indulgent without being overly complicated.
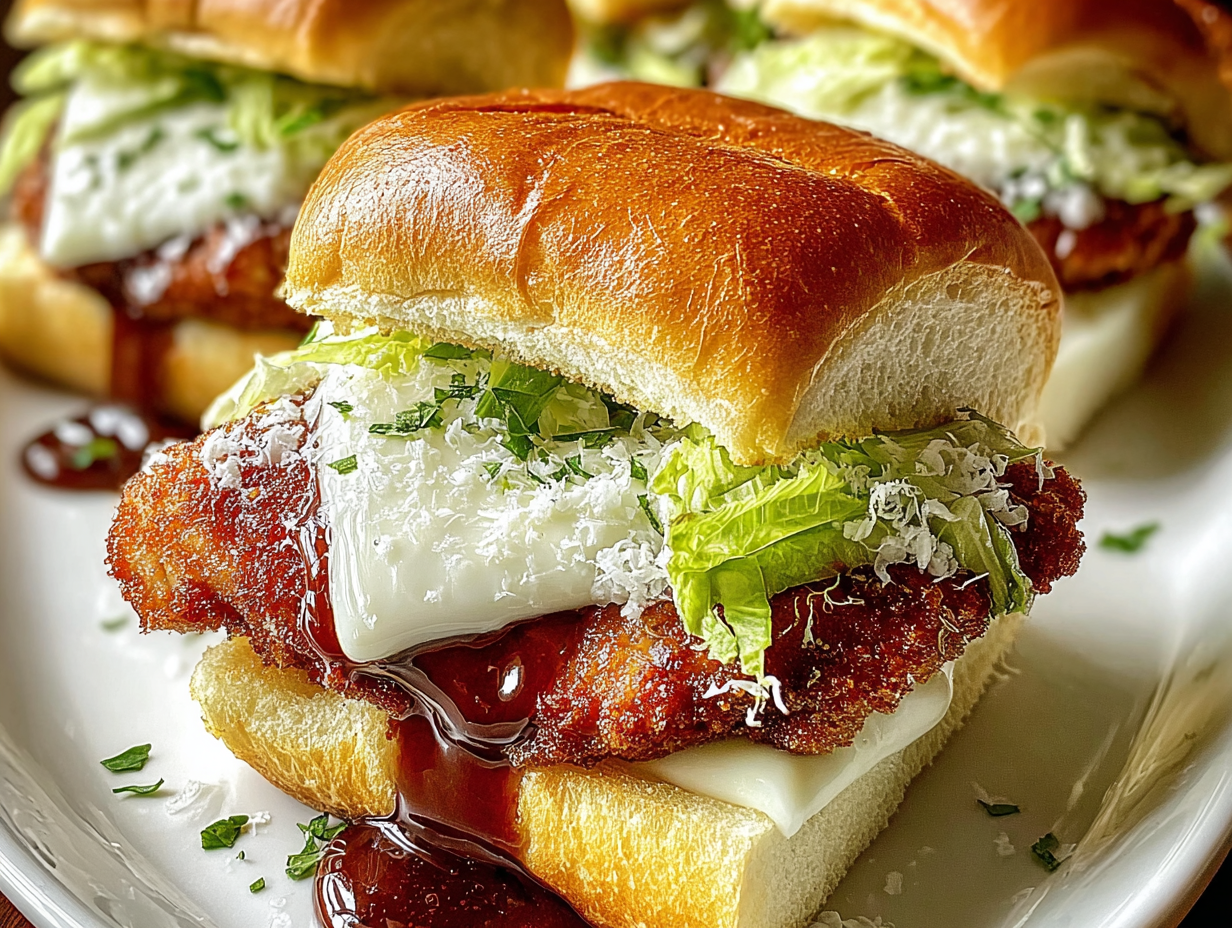
Imagine a perfectly golden, crunchy piece of chicken, juicy and tender on the inside, thanks to a Buttermilk marinade. Now, place that on a warm, garlic-toasted roll, top it with crisp romaine lettuce, a creamy Caesar dressing, and a generous sprinkle of shaved Parmesan. It’s a combination that’s hard to beat. This recipe has become a staple in my home for weekend lunches and even for casual weeknight dinners when I want something special. It bridges the gap between comforting Junk Food cravings and a well-rounded, delicious meal. Forget boring desk lunches; this is a sandwich worth sitting down for.
Ingredients for the Perfect Chicken Caesar Sandwich
- 4 boneless, skinless chicken breasts
- 1 cup all-purpose flour
- Salt and black pepper, to taste
- 1 teaspoon garlic powder
- 1 teaspoon onion powder
- 1 cup buttermilk
- 2 cups panko breadcrumbs
- 1/2 cup grated Parmesan cheese
- 1/4 cup olive oil, for frying
- 4 large sandwich rolls, split
- 1 cup Romaine lettuce, shredded
- 1/2 cup Caesar dressing
- 1/4 cup shaved Parmesan cheese, for topping
- 2 tablespoons melted butter
- 1 clove garlic, minced
Step-by-Step Instructions
- Prep Your Oven and Chicken: First things first, preheat your oven to 400°F (200°C). While it’s heating up, take a moment to pound the chicken breasts to an even thickness. This is a crucial step for ensuring the chicken cooks evenly without drying out.
- Set Up Your Breading Station: You’ll need three shallow dishes. In the first, whisk together the flour, salt, pepper, garlic powder, and onion powder. Pour the buttermilk into the second dish. In the third, combine the panko breadcrumbs and grated Parmesan cheese. An assembly line makes the process smooth and clean.
- Bread the Chicken: Now for the fun part. Take one chicken breast at a time, dredge it in the flour mixture, and gently shake off any excess. Next, dip it into the Buttermilk, letting the extra drip off. Finally, press it firmly into the panko-Parmesan mixture, ensuring it’s completely coated. This three-step process is the key to a truly Crispy Chicken crust.
- Fry for a Golden Crust: Heat the olive oil in a large skillet over medium heat. Once the oil is shimmering, carefully place the breaded chicken in the pan. Fry for about 4 minutes on each side, until it’s beautifully golden and crispy. Don’t overcrowd the pan; work in batches if you need to.
- Finish in the Oven: Transfer the fried chicken to a baking sheet and bake for about 15 minutes. This ensures the chicken is cooked through and perfectly juicy on the inside while the outside stays wonderfully crisp.
- Toast the Rolls: While the chicken bakes, mix the melted butter and minced garlic in a small bowl. Brush this glorious garlic butter over the cut sides of your sandwich rolls. Place them on a baking sheet and toast in the oven for about 5 minutes until they’re golden and fragrant.
- Assemble Your Masterpiece: It’s time to build your Chicken Caesar Sandwich. Place a piece of crispy chicken on the bottom half of each toasted roll. Top it with a generous handful of shredded romaine lettuce, drizzle with Caesar dressing, and finish with a sprinkle of shaved Parmesan. Place the top half of the roll on, and you’re ready to eat!
Tips & Tricks for the Best Chicken Caesar Sandwich
Making a truly memorable sandwich is all about the details. Over the years, I’ve learned a few things that take this Chicken Caesar Sandwich from good to absolutely amazing. First, don’t rush the breading process. When you press the chicken into the panko and Parmesan mixture, use gentle but firm pressure. This helps the coating adhere properly, so you won’t have to worry about it falling off in the frying pan. A well-coated piece of chicken is the foundation of this recipe, ensuring every single bite has that satisfying crunch you’re looking for.
The Importance of Pounding the Chicken
It might seem like a small, skippable step, but pounding the chicken breasts to an even thickness is a game-changer. Chicken breasts are naturally thicker on one end, which leads to uneven cooking—the thin end dries out before the thick end is cooked through. By evening out the thickness, you guarantee that every piece of chicken will be perfectly juicy and tender from end to end. It also gives you a larger surface area, which means more space for that delicious, crispy coating. It’s a little bit of effort for a massive payoff in texture and quality.
Why did my breading get soggy?
Soggy breading is a common frustration, but it’s easily preventable. The number one culprit is usually oil that isn’t hot enough. When you place the chicken in the skillet, you should hear an immediate, confident sizzle. If you don’t, the breading will absorb oil instead of crisping up in it. Another tip is to let the chicken rest on a wire rack after frying instead of on a plate. This allows air to circulate underneath, preventing the bottom from steaming and losing its crispiness while you finish the rest of your cooking.
Substitutions & Variations
While this classic Crispy Chicken Caesar Sandwich recipe is a proven winner, one of the best things about cooking is making a dish your own. There are plenty of ways to adapt this recipe to suit your taste or what you happen to have in your kitchen. Don’t be afraid to experiment! Whether you’re looking for a different flavor profile or need to accommodate a dietary restriction, this sandwich is wonderfully versatile. Think of this recipe as a fantastic starting point for your own culinary creativity.
Flavor Twists and Add-Ins
Want to add a little heat? A pinch of cayenne pepper or smoked Paprika in the flour mixture can add a wonderful warmth and smoky depth. For an extra layer of flavor, consider adding a couple of slices of crispy bacon or some creamy avocado to your sandwich. If you’re a fan of pickles, a few thinly sliced dill pickles or some tangy banana peppers can provide a delicious acidic contrast to the rich chicken and creamy dressing. You could also try different types of rolls, like a ciabatta or brioche bun, to change up the texture.
Can I make this with grilled chicken instead?
Absolutely! If you’re looking for a lighter option or simply prefer the taste of grilled chicken, it works beautifully in this sandwich. Instead of the breading steps, simply marinate the chicken breasts in a bit of Caesar dressing, lemon juice, and garlic for about 30 minutes before grilling them until they are cooked through. You’ll miss the signature “crispy” crunch, but you’ll still have a delicious, flavorful sandwich that’s perfect for a healthier meal. It’s one of the most adaptable Sandwich Recipes out there.
Frequently Asked Questions
Can I make the crispy chicken in an air fryer?
Yes, an air fryer is a fantastic tool for making the crispy chicken. After breading the chicken, spritz it lightly with cooking oil spray and place it in the air fryer basket in a single layer. Cook at 380°F (190°C) for about 15-20 minutes, flipping halfway through, until the chicken is golden, crispy, and cooked through. You’ll get a great crunch with less oil.
What’s the best bread for a Chicken Caesar Sandwich?
A sturdy roll that can hold up to the ingredients without getting soggy is ideal. Hoagie rolls, ciabatta, or a crusty French baguette are all excellent choices. The key is to choose something you can toast well with the garlic butter, as this creates a slight barrier that helps prevent the dressing from soaking into the bread too quickly.
Can I prepare parts of this recipe in advance?
Definitely. You can bread the chicken and store it in the refrigerator for a few hours before you plan to cook it. You can also mix the garlic butter and shred the lettuce ahead of time. For the best results, though, it’s best to cook the chicken and assemble the sandwiches right before serving to ensure the chicken is hot and crispy and the lettuce is fresh.
Conclusion
And there you have it—a sandwich that’s so much more than the sum of its parts. This Crispy Chicken Caesar Sandwich is the perfect answer for a satisfying lunch, a fun dinner, or anytime you want a meal that feels a little special. The combination of the warm, crunchy chicken, the cool, crisp salad, and the garlicky toasted roll is a truly winning formula. I hope you give this recipe a try and that it brings as much joy to your table as it does to mine. It’s a standout among Sandwich Recipes and a meal you’ll want to make again and again.
Crispy Chicken Caesar Sandwich
Ingredients
Equipment
Method
- Prep Your Oven and Chicken: First things first, preheat your oven to 400°F (200°C). While it’s heating up, take a moment to pound the chicken breasts to an even thickness. This is a crucial step for ensuring the chicken cooks evenly without drying out.
- Set Up Your Breading Station: You’ll need three shallow dishes. In the first, whisk together the flour, salt, pepper, garlic powder, and onion powder. Pour the buttermilk into the second dish. In the third, combine the panko breadcrumbs and grated Parmesan cheese. An assembly line makes the process smooth and clean.
- Bread the Chicken: Now for the fun part. Take one chicken breast at a time, dredge it in the flour mixture, and gently shake off any excess. Next, dip it into the Buttermilk, letting the extra drip off. Finally, press it firmly into the panko-Parmesan mixture, ensuring it’s completely coated. This three-step process is the key to a truly Crispy Chicken crust.
- Fry for a Golden Crust: Heat the olive oil in a large skillet over medium heat. Once the oil is shimmering, carefully place the breaded chicken in the pan. Fry for about 4 minutes on each side, until it’s beautifully golden and crispy. Don’t overcrowd the pan; work in batches if you need to.
- Finish in the Oven: Transfer the fried chicken to a baking sheet and bake for about 15 minutes. This ensures the chicken is cooked through and perfectly juicy on the inside while the outside stays wonderfully crisp.
- Toast the Rolls: While the chicken bakes, mix the melted butter and minced garlic in a small bowl. Brush this glorious garlic butter over the cut sides of your sandwich rolls. Place them on a baking sheet and toast in the oven for about 5 minutes until they’re golden and fragrant.
- Assemble Your Masterpiece: It’s time to build your Chicken Caesar Sandwich. Place a piece of crispy chicken on the bottom half of each toasted roll. Top it with a generous handful of shredded romaine lettuce, drizzle with Caesar dressing, and finish with a sprinkle of shaved Parmesan. Place the top half of the roll on, and you’re ready to eat!